Introduction
Accidentally or purposely installed a patched or new Kext and now want to restore the original one? Here's a solution to get that original Kext back to your Mac.
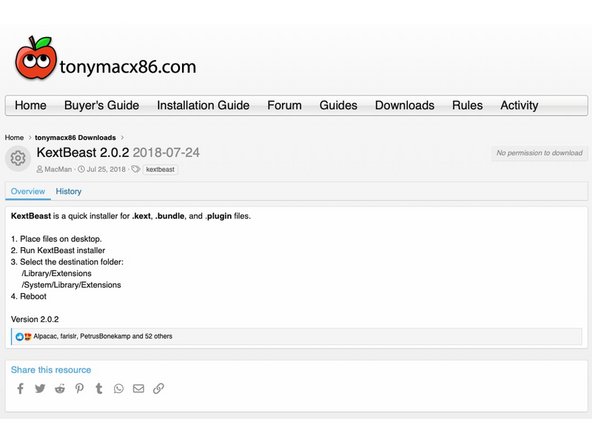
This guide requires KextBeast which is a free download available from TonyMacx86.
Tools
Parts
No parts specified.
-
-
And hit Return
-
Remember to not include any "quotation marks"
-
-
-
And hit Return
-
You should now see two files on your desktop that are not normally there, they have been there the whole time really, just not visible of course
-
-
-
And hit Return
-
You should then see something that looks like this: "Apple_Boot Recovery HD 650.0 MB diskXsX"
-
Where "X" is, you should see numbers - remember them for the next step
-
-
-
And hit Return
-
Again, enter your numbers from the previous step, where "X" is
-
-
-
You should now be able to find Recovery HD in the list down the side of a Finder window under Devices
-
-
-
Once again, this should be in Finder, continuing from the last step
-
-
-
Or just use the user interface to navigate there
-
-
-
If you wish, you can use the search function of Finder in the top right-hand corner
-
If you use this, the search initially defaults to searching your entire Mac
-
-
-
KextBeast can be downloaded for free from here
-
You may need to sign up for a free account with Tonymacx86 in order to access the download
-
-
-
Complete the wizard, it should walk you through the simple process
-
-
-
You may delete the Kext files and KextBeast from your desktop now
-
-
-
Once again, this can be found among your Applications or by lanching Launchpad
-


